
STEP 1. Insert your flash drive into the Mac monitor.
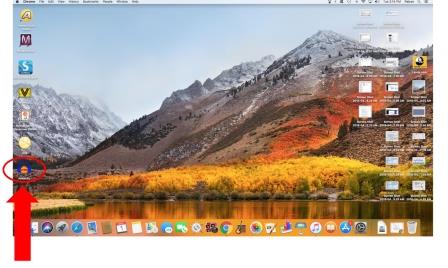
STEP 2. After you turn the Podcasting Studio’s Mac on and the log-in screen appears, select “Patron” to bring up the Mac desktop.
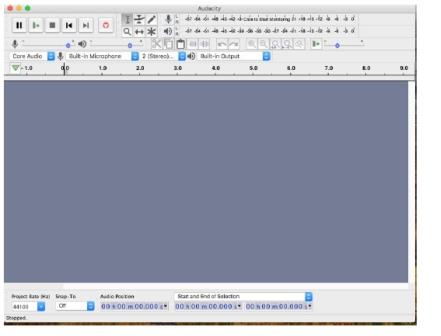
STEP 3. On the Mac desktop, open the recording program “Audacity” to create and edit your podcast recording. This is a free, open source audio editing tool.
(When the “Help” window pops up, you may either use that for any help questions, or click “OK” to get started.) You should now see the Audacity control panel:
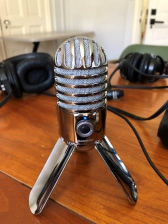
STEP 4. A tripod microphone, “Samson Meteor Mic,” is available here in the Podcasting Studio for your use, and should be plugged into the Mac’s monitor. A few brief items on using this mic:
 |
|
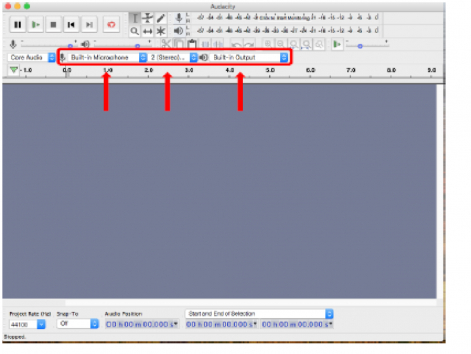
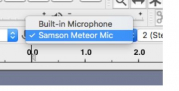
STEP 5. After starting Audacity, you will need to specify the mic and the channel you will be using for recording, as well as the speakers:
 |
 |
 |
|
Use the second drop-down menu from the left (the mic menu) to select “Samson Meteor Mic.” |
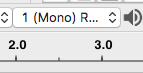
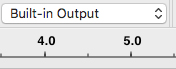
In the next drop-down menu, set the channel to “Mono.” | You will also need to specify the speakers to listen to the recording (they should already be set to “Built-in Output” so you can leave this as-is). |
STEP 6. Once the microphone and speakers are set up correctly, you can begin recording. Audacity uses standard control buttons which you will find in the upper left hand corner of the control panel:
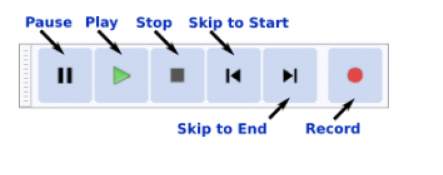
Click the “Record” button to start the recording. When finished, click the “Stop” button to stop the recording, then “Skip to Start” to go to the beginning and “Play” to start the recording.
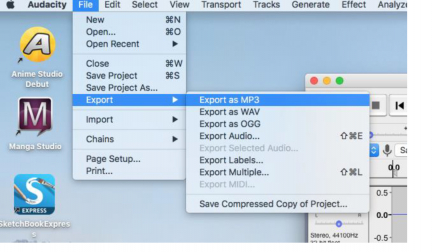
STEP 7. Create the podcast audio file! There are several audio file formats that can be used. The most popular and universal is MP3.
Select File → Export → Export as MP3 (or the file format of your choice):
When the program’s “Save” pop-up displays, select your flash drive (this may say “NO NAME” or you may have named it), then name and save your file to the flash drive.
STEP 8. In order to make your podcast available to the public for listening, you need to upload your podcast file to a podcast hosting service. Here is a list of the most popular for 2018.
Before leaving the Podcasting Studio, please make sure the equipment is back in place and plugged in so others will be able to use it.
CONGRATULATIONS! You have created your first podcast!
Thank you for helping our community connect at the Ames Free Library!
Want additional help? Try these resources.
Interested in podcasting from home? Here are some basic instructions.