
Here are some handy tips for those who haven’t recorded with an XLR microphone before.
1. Speak into the front of the microphone.
Our AT2020 microphones are “cardioid” microphones, meaning they only capture sound properly from one side. The front of the microphones are labeled “AT2020” on the base, while the back is labeled “back”.
2. Use the over-ear headphones to listen to microphone input.
Listening to what the microphone is picking up in real-time can alert you to any issues or unwanted sounds that are being picked up while you’re recording. It can also help you understand how to find your “recording voice”!
3. Ensure the microphone “gain” is set at a reasonable level.
Think of gain as the base volume of your recording. Gain should not be set too low, or too high, as these can both cause issues. A good rule of thumb is to have your gain set at a level where the sound of your voice hits around -12 db consistently.
4. Maintain a proper distance between the microphone and your mouth.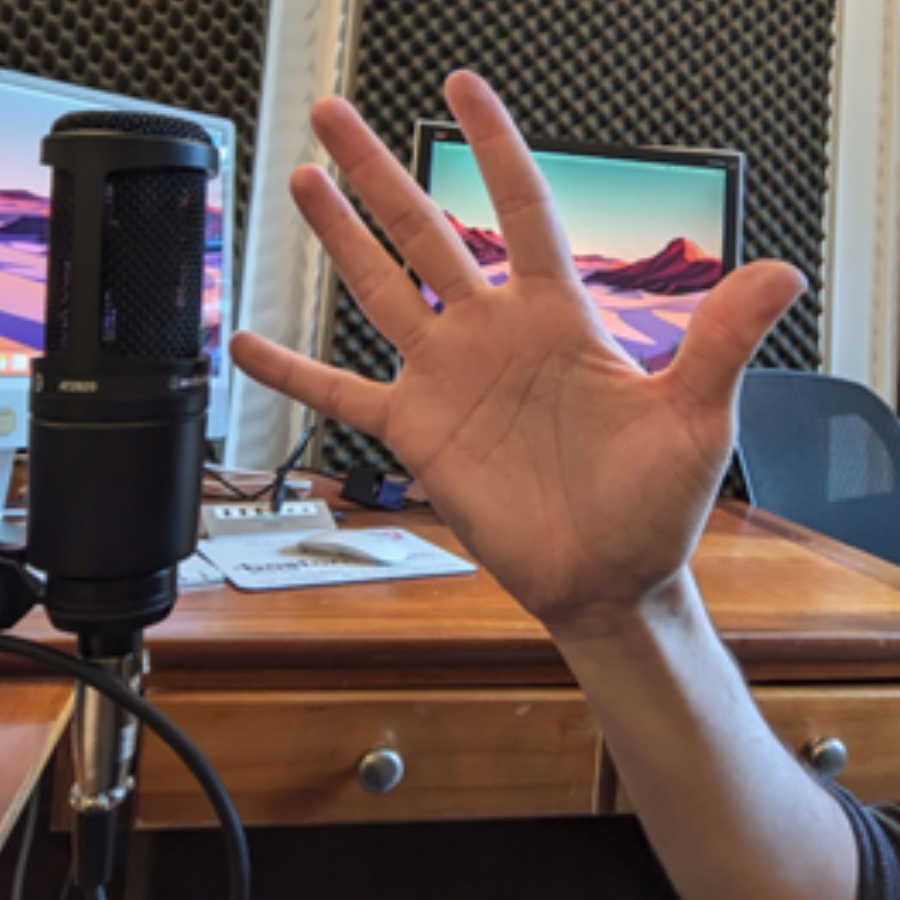
As a good rule of thumb, outstretch the fingers on your hand so that there’s a bit of space between them. A good distance to keep your mouth from the microphone is the same length as the distance between your pinky and your thumb.
5. Watch out for “plosives”.
When puffs of air or breath hit a microphone, it makes a rather nasty sort of sound known as a “plosive”. It particularly affects “p” and “b” sounds when we make them.
To help avoid this, try positioning the front of the microphone slightly adjacent to your mouth, instead of directly in front of it. This will make it so your breath goes past the microphone, while other sounds are captured normally.
Want a video guide on using audacity from scratch? Check out this instructional video.